Hello Triangle Native
This example is a demonstration of the control over vulkan that's possible without the KDGpuExample helper API. To see what parts of this example are abstracted/simplified by KDGpuExample, check out the Hello Triangle example.
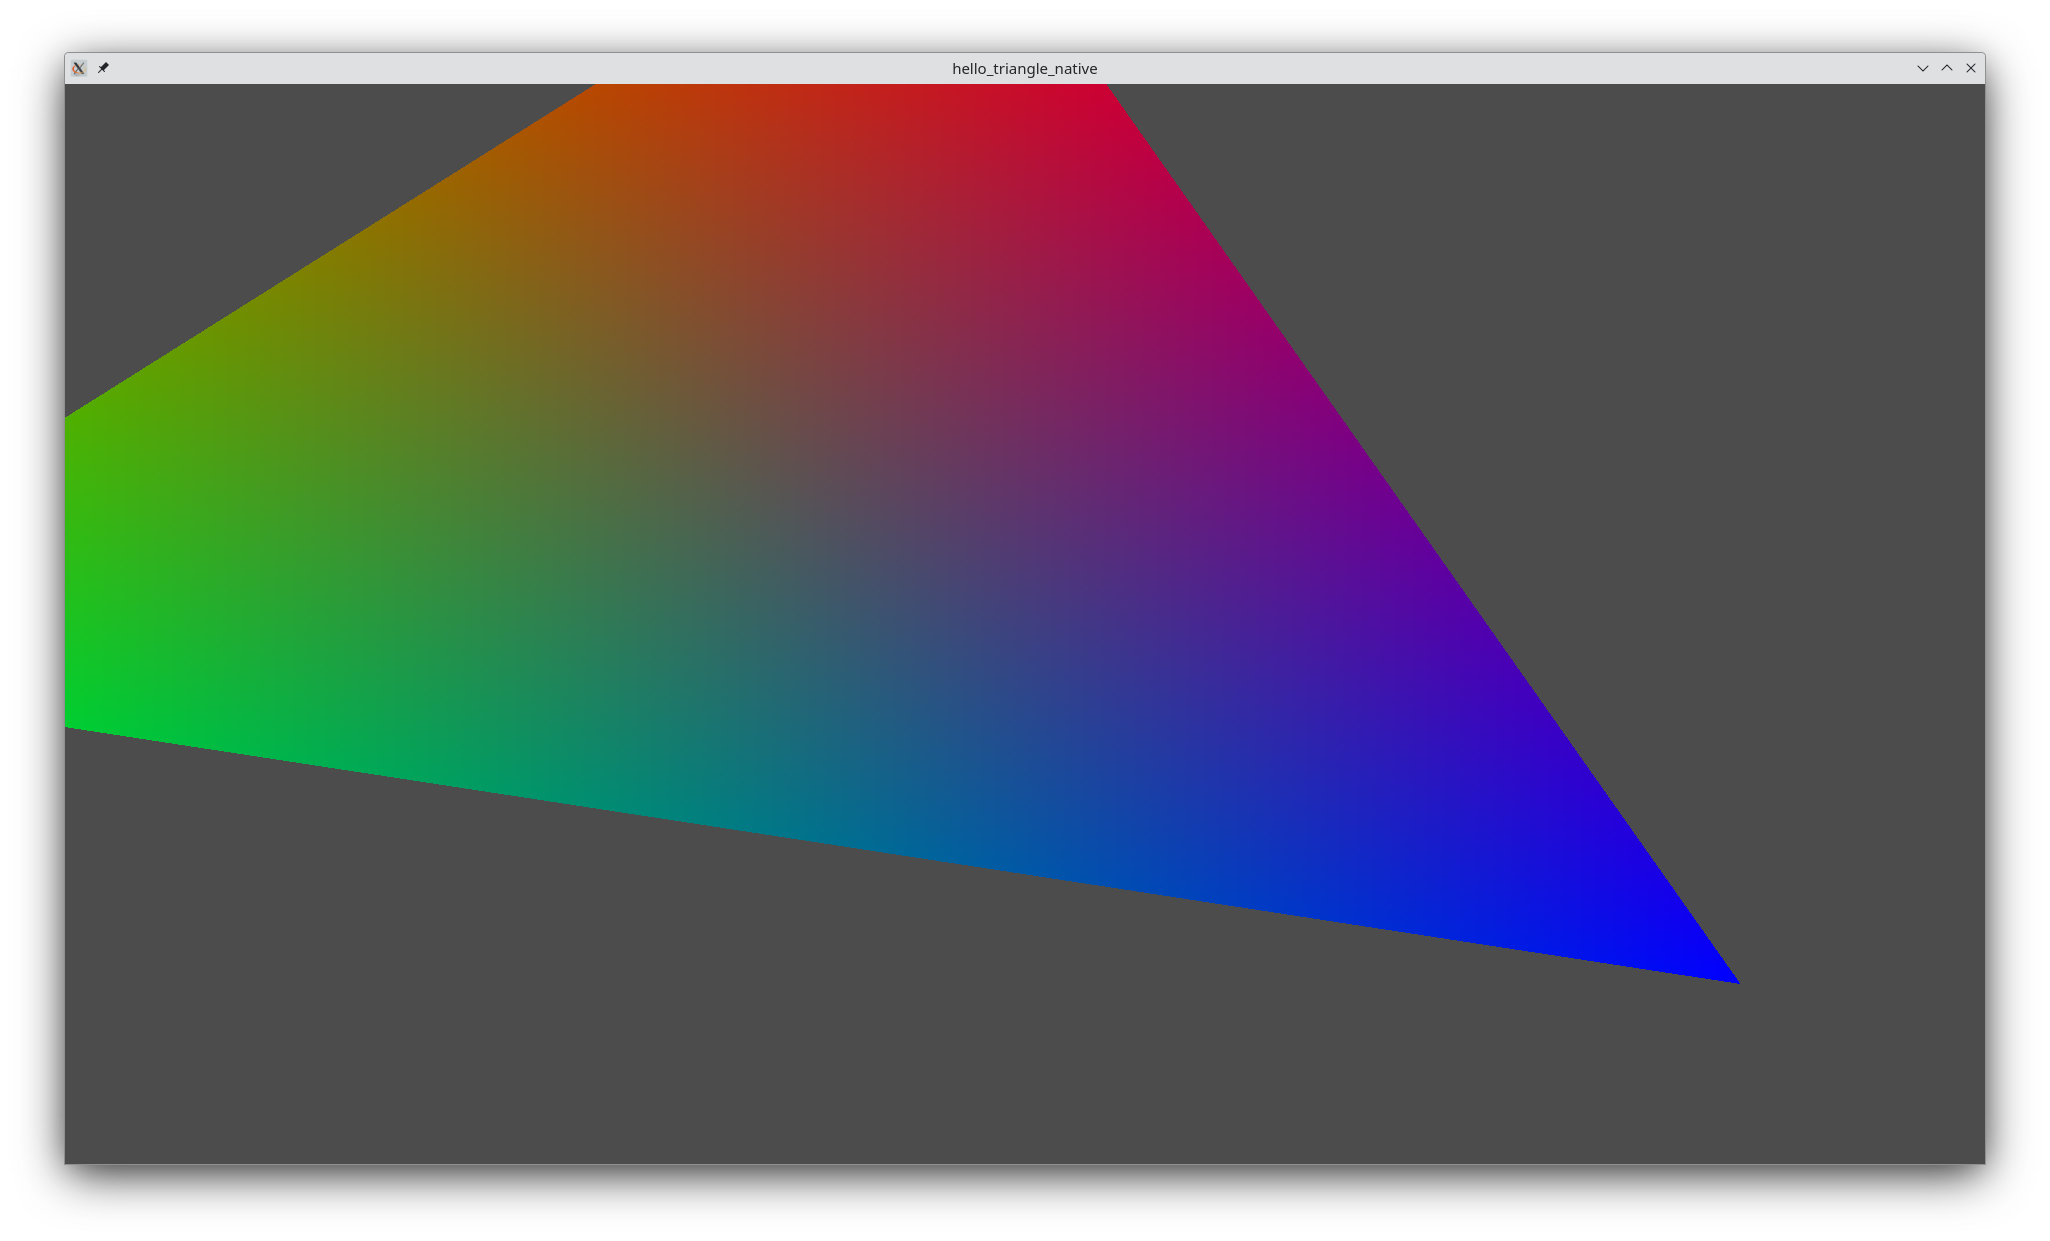
This example demonstrates the patterns that KDGpuExample normally handles for you, so this is more complex than the Hello Triangle example. It is expected that you read that example first in order to understand this example in full.
Initialization
1 | |
Filename: hello_triangle_native/main.cpp
Unlike in the Hello Triangle example, we have to instantiate a vulkan API object, and then use that to create a vulkan instance. We must also create a KDGui Window with dimensions, a title, and a quit handler. The handler which will store a reference to our app and quit it when it's called. KDGui will call this handler when the windowing system requests the window to close.
Next, we're going to need a vulkan surface. Requesting that requires different approaches on different operating systems:
1 2 3 4 5 6 7 8 9 10 11 12 13 14 15 16 17 18 19 20 21 22 23 24 25 26 27 28 | |
Filename: hello_triangle_native/main.cpp
These are implementation details, but it's good to break things down to understand where the application has dependency on different operating system functions. And look: even the OS-specific operations are simple helper functions and types.
Next, lets look at hardware specific code. Unlike the OS specific code, this is going to have to be determined at runtime. First, we look for an adapter of a certain type. Available types can be found at KDGpu::AdapterDeviceType.
1 2 3 | |
Filename: hello_triangle_native/main.cpp
We can then query that adapter for features (KDGpu::AdapterFeatures) and properties (KDGpu::AdapterProperties). Features are things like multiview, precise occlusion queries, and other GPU-specific features. Properties are things like the device's ID and the latest vulkan API version that it supports.
1 2 3 | |
Filename: hello_triangle_native/main.cpp
Next, we can query the available families of command queues. Command queues are interfaces on which you can submit lists of GPU commands, and the types of GPU commands you can submit to a queue depends on the family you're using. For example, submitting a draw call won't work if the only queue you have access to is a compute queue. In order to ensure the hardware supports the queue family you want, bitwise OR | all the KDGpu::QueueFlagBits that correspond to the family like so:
1 2 3 | |
Filename: hello_triangle_native/main.cpp
And the last of the hardware queries: we can query the swapchain's properties. Explore KDGpu::AdapterSwapchainProperties to see these in greater detail. The most important check here is whether or not the swapchain supports presentation for the given surface and queue type. Under the hood, this calls vkGetPhysicalDeviceSurfacePresentModesKHR, which enumerates "presentation modes." These are basically things like v-sync on, v-sync off, or hybrid. If the swapchain does not have any of these presentation modes, then it does not support presentation and your graphical app will fail or be unable to show anything on-screen.
1 2 3 4 5 6 7 8 9 | |
Filename: hello_triangle_native/main.cpp
Next, we must create the swapchain. For the most part, this is just propagating values that we queried earlier into the options structs for the swapchain.
1 2 3 4 5 6 7 8 9 10 11 12 13 14 15 16 17 18 19 20 21 22 23 24 25 26 27 28 29 30 31 32 33 34 35 36 37 38 39 40 41 42 43 44 45 46 47 48 49 50 51 52 53 54 55 56 57 58 59 60 61 62 | |
Filename: hello_triangle_native/main.cpp
However, note the depth texture portion. This provides a level of control which was not available when using KDGpuExample.
1 2 3 4 5 6 7 8 9 | |
Filename: hello_triangle_native/main.cpp
The last difference between this example and Hello Triangle is that we must initialize some GPU synchronization primitives. These will be used to ensure that the steps of the render loop execute in the correct order. See the synchronization section for more details.
1 2 3 | |
Filename: hello_triangle_native/main.cpp
Per-Frame Render Logic
Our render loop begins like so:
1 | |
Filename: hello_triangle_native/main.cpp
The window's visible status will change based on updates from the OS/window manager.
Our first task on each frame is to acquire the swapchain image to render to. Doing this requires that the swapchain size and format respects the current state of the presentation target. So, we use getNextImageIndex and make sure it's up to date:
1 2 3 4 5 6 7 8 | |
Filename: hello_triangle_native/main.cpp
The reason for the imageAvailableSemaphore is explained in the synchronization section.
After this point, the render loop is pretty much identical to the render loop in Hello Triangle. However, the queue submission involves synchronization primitives which are fully exposed to us, so we can use this code as an example that shows what's actually going on in the KDGpuExample API.
Synchronization
In KDGpuExample examples, there is often a section at the end of each render which looks something like this:
1 2 3 4 5 6 | |
Filename: hello_triangle/hello_triangle.cpp
What are the wait and signal semaphore arguments? When submitting queues of commands to the GPU, it is sometimes necessary for a set of commands to be executed before or after another set of commands. In Vulkan, command queues are not implicitly completed in the order they were submitted. Instead, it is necessary to explicitly define dependency between two sets of GPU commands. This is achieved with semaphores. We initialized some KDGpu::GpuSemaphore primitives earlier, and we will continue to use them each frame. Their destructors will clean up the Vulkan resources at the end of the program. Let's look at the steps of the pipeline which are declared as dependent using semaphores:
1 | |
Filename: hello_triangle_native/main.cpp
The acquisition of the swapchain image has a related semaphore (imageAvailableSemaphore). KDGpu will pass this to the GPU so that, when it finds that the swapchain is available, it will mark this semaphore as signalled.
When submitting our draw commands, we put the imageAvailableSemaphore in the waitSemaphores argument, which KDGpu will attach to the queue submission so that the GPU will not try to draw anything until the swapchain image is available. Then, just as we attached the imageAvailableSemaphore to the swapchain query, we also attach the renderCompleteSemaphore to be signalled when the draw commands are completed. (We will come back to the signal fence).
1 2 3 4 5 6 | |
Filename: hello_triangle_native/main.cpp
Then we present the rendered scene to the surface. KDGpu has neatly coupled this into the KDGpu::Queue class, so you can just call present on the same queue you submitted. We wait for the renderCompleteSemaphore so that don't draw an unfinished render to the screen.
1 2 3 4 | |
Filename: hello_triangle_native/main.cpp
The last thing that happens is we wait for the render (but not the presentation) to complete before allowing the loop to continue to the next iteration. Doing this requires a KDGpu::Fence. A fence is a synchronization primitive, just like a semaphore, but it exists in CPU address space, so it is meant to be used to block CPU processes. We created one earlier:
1 | |
Filename: hello_triangle_native/main.cpp
We start each loop by resetting the fence to its unsignalled state:
1 | |
Filename: hello_triangle_native/main.cpp
And when submitting the render commands we set it as the signalFence so that it will be signalled when rendering has completed:
1 | |
Filename: hello_triangle_native/main.cpp
Finally, after submitting our commands and requesting presentation, we call wait on the fence to block the main thread until the GPU has completed rendering.
1 | |
Filename: hello_triangle_native/main.cpp
Updated on 2025-07-08 at 12:01:11 +0000