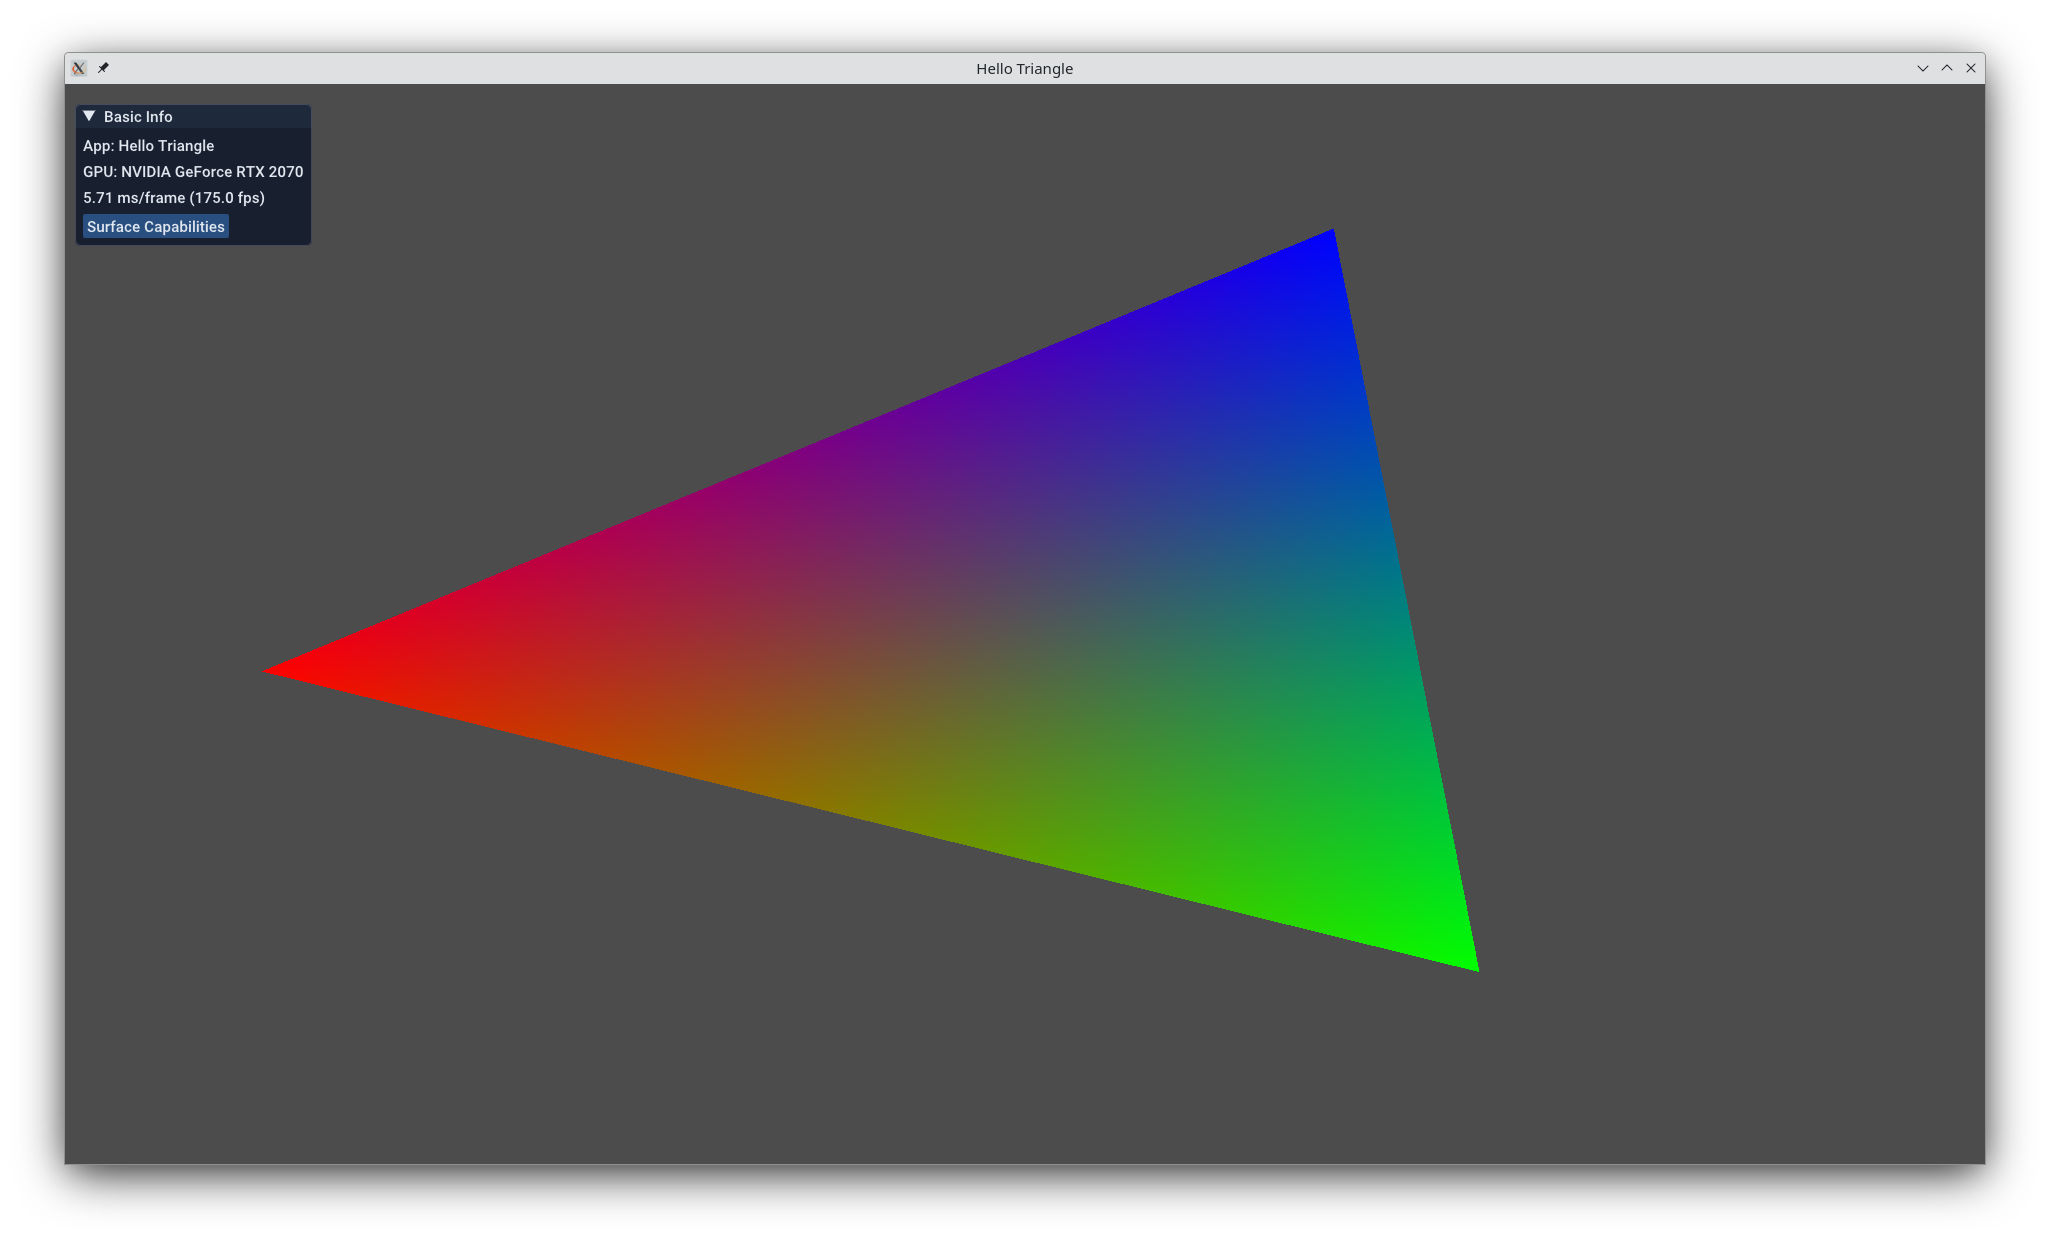
Hello Triangle
This example makes use of the KDGpuExample helper API which simplifies example creation by hiding repetitive and common patterns such as Instance and Device initialize and Swapchain creation.
To see what it's like to use KDGpu without the KDGpuExample API, check out the Hello Triangle Native example.
Let's start with your first KDGpu application entrypoint!
 1
 2
 3
 4
 5
 6
 7
 8
 9
10
11
12
13 | using namespace KDGui;
using namespace KDGpu;
using namespace KDGpuExample;
int main()
{
GuiApplication app;
app.applicationName = "Hello Triangle";
Engine engine;
auto exampleLayer = engine.createEngineLayer<HelloTriangle>();
engine.running = true;
return app.exec();
}
|
Filename: hello_triangle/main.cpp
Pretty simple, right? First, we instantiate a KDGui::GuiApplication, which is a singleton that our engine layer (instantiated two lines later) will attach to. The only curious thing here is the KDGpuExample::Engine::createEngineLayer call. Let's take a look at that HelloTriangle type: that's where the functionality specific to this example is found. HelloTriangle inherits from KDGpuExample::SimpleExampleEngineLayer. Here's the per-frame update logic:
 1
 2
 3
 4
 5
 6
 7
 8
 9
10
11
12
13
14
15
16
17 | void HelloTriangle::updateScene()
{
// Each frame we want to rotate the triangle a little
static float angle = 0.0f;
const float angularSpeed = 3.0f; // degrees per second
const float dt = engine()->deltaTimeSeconds();
angle += angularSpeed * dt;
if (angle > 360.0f)
angle -= 360.0f;
m_transform = glm::mat4(1.0f);
m_transform = glm::rotate(m_transform, glm::radians(angle), glm::vec3(0.0f, 0.0f, 1.0f));
auto bufferData = m_transformBuffer.map();
std::memcpy(bufferData, &m_transform, sizeof(glm::mat4));
m_transformBuffer.unmap();
}
|
Filename: hello_triangle/hello_triangle.cpp
Some matrix math using the glm library to rotate the triangle a little each frame. We take care to have a rotation that is independent of the frame rate. Notice the map() call issued on the transform buffer, which returns a void* handle that is then used to memcpy the m_transform that was just calculated. unmap is then called to flush the transform buffer. No rendering so far. Let's take a look at some.
Rendering
 1
 2
 3
 4
 5
 6
 7
 8
 9
10
11
12
13
14
15
16
17
18
19
20
21
22
23
24 | void HelloTriangle::render()
{
auto commandRecorder = m_device.createCommandRecorder();
m_opaquePassOptions.colorAttachments[0].view = m_swapchainViews.at(m_currentSwapchainImageIndex);
auto opaquePass = commandRecorder.beginRenderPass(m_opaquePassOptions);
opaquePass.setPipeline(m_pipeline);
opaquePass.setVertexBuffer(0, m_buffer);
opaquePass.setIndexBuffer(m_indexBuffer);
opaquePass.setBindGroup(0, m_transformBindGroup);
const DrawIndexedCommand drawCmd = { .indexCount = 3 };
opaquePass.drawIndexed(drawCmd);
renderImGuiOverlay(&opaquePass);
opaquePass.end();
m_commandBuffer = commandRecorder.finish();
const SubmitOptions submitOptions = {
.commandBuffers = { m_commandBuffer },
.waitSemaphores = { m_presentCompleteSemaphores[m_inFlightIndex] },
.signalSemaphores = { m_renderCompleteSemaphores[m_inFlightIndex] }
};
m_queue.submit(submitOptions);
}
|
Filename: hello_triangle/hello_triangle.cpp
We begin by creating a command recorder object which is then used to begin a render pass that will direct the rendering to the current swapchain image.
Beginning a render pass returns a KDGpu::RenderPassCommandRecorder, which has many functions used to issue commands related to rendering. We use the pass recorder to bind a KDGpu::GraphicsPipeline to set the majority of the GPU state, followed by binding the vertex and index buffers that hold the geometry data. With all of the state set, we can issue a drawIndexed call to draw the 3 vertices of the triangle.
Once all of our drawing commands are recorded, we call the renderImGuiOverlay helper function to draw the UI.
To complete the frame, we have to end the renderpass and then tell the command recorder to finish. This returns a CommandBuffer that we then submit to a GPU Queue for execution.
Initialization
Let's take a look at the initialization process that was necessary to get to the rendering stage. Starting at the top of initializeScene:
 1
 2
 3
 4
 5
 6
 7
 8
 9
10
11
12
13
14
15
16
17
18
19
20
21
22
23
24
25
26
27
28
29
30
31
32
33
34
35
36
37 | struct Vertex {
glm::vec3 position;
glm::vec3 color;
};
// Create a buffer to hold triangle vertex data
{
const float r = 0.8f;
const std::array<Vertex, 3> vertexData = {
Vertex{ // Bottom-left, red
.position = { r * cosf(7.0f * M_PI / 6.0f), -r * sinf(7.0f * M_PI / 6.0f), 0.0f },
.color = { 1.0f, 0.0f, 0.0f } },
Vertex{ // Bottom-right, green
.position = { r * cosf(11.0f * M_PI / 6.0f), -r * sinf(11.0f * M_PI / 6.0f), 0.0f },
.color = { 0.0f, 1.0f, 0.0f } },
Vertex{ // Top, blue
.position = { 0.0f, -r, 0.0f },
.color = { 0.0f, 0.0f, 1.0f } }
};
const DeviceSize dataByteSize = vertexData.size() * sizeof(Vertex);
const BufferOptions bufferOptions = {
.label = "Vertex Buffer",
.size = dataByteSize,
.usage = BufferUsageFlagBits::VertexBufferBit | BufferUsageFlagBits::TransferDstBit,
.memoryUsage = MemoryUsage::GpuOnly
};
m_buffer = m_device.createBuffer(bufferOptions);
const BufferUploadOptions uploadOptions = {
.destinationBuffer = m_buffer,
.dstStages = PipelineStageFlagBit::VertexAttributeInputBit,
.dstMask = AccessFlagBit::VertexAttributeReadBit,
.data = vertexData.data(),
.byteSize = dataByteSize
};
uploadBufferData(uploadOptions);
}
|
Filename: hello_triangle/hello_triangle.cpp
Here, we are creating geometry by manually writing out vertices. Note the last two calls:
| m_buffer = m_device.createBuffer(bufferOptions);
|
Filename: hello_triangle/hello_triangle.cpp
| uploadBufferData(uploadOptions);
|
Filename: hello_triangle/hello_triangle.cpp
We create a buffer and then set it to be the destinationBuffer in the upload options. Finally, we call KDGpuExample::ExampleEngineLayer::uploadBufferData, which will construct a new KDGpu::UploadStagingBuffer in the engine's list of staging buffers for later reference. Creating a fence to mark when this buffer's lifetime ends is handled by KDGpu.
Next, we need to initialize vertex indices. These will tell the GPU what order each of the vertices should be rendered in. In our case, with only one triangle, we just want to render each vertex in the order that they appear (this would not be the case if we had geometry which shared vertices).
Specifying vertices and indexing them correctly to form a model with a bunch of correctly oriented triangles is a complex task usually handled by loading in model files. TODO: include link to GLTF blog maybe?
 1
 2
 3
 4
 5
 6
 7
 8
 9
10
11
12
13
14
15
16
17
18
19 | {
std::array<uint32_t, 3> indexData = { 0, 1, 2 };
const DeviceSize dataByteSize = indexData.size() * sizeof(uint32_t);
const BufferOptions bufferOptions = {
.label = "Index Buffer",
.size = dataByteSize,
.usage = BufferUsageFlagBits::IndexBufferBit | BufferUsageFlagBits::TransferDstBit,
.memoryUsage = MemoryUsage::GpuOnly
};
m_indexBuffer = m_device.createBuffer(bufferOptions);
const BufferUploadOptions uploadOptions = {
.destinationBuffer = m_indexBuffer,
.dstStages = PipelineStageFlagBit::IndexInputBit,
.dstMask = AccessFlagBit::IndexReadBit,
.data = indexData.data(),
.byteSize = dataByteSize
};
uploadBufferData(uploadOptions);
}
|
Filename: hello_triangle/hello_triangle.cpp
Once again, we use the graphics device to create a new buffer, set it as the destination, and then call uploadBuffer. Note the different configuration bits.
Now the transformation matrix:
 1
 2
 3
 4
 5
 6
 7
 8
 9
10
11
12
13
14
15
16
17
18
19 | {
std::array<uint32_t, 3> indexData = { 0, 1, 2 };
const DeviceSize dataByteSize = indexData.size() * sizeof(uint32_t);
const BufferOptions bufferOptions = {
.label = "Index Buffer",
.size = dataByteSize,
.usage = BufferUsageFlagBits::IndexBufferBit | BufferUsageFlagBits::TransferDstBit,
.memoryUsage = MemoryUsage::GpuOnly
};
m_indexBuffer = m_device.createBuffer(bufferOptions);
const BufferUploadOptions uploadOptions = {
.destinationBuffer = m_indexBuffer,
.dstStages = PipelineStageFlagBit::IndexInputBit,
.dstMask = AccessFlagBit::IndexReadBit,
.data = indexData.data(),
.byteSize = dataByteSize
};
uploadBufferData(uploadOptions);
}
|
Filename: hello_triangle/hello_triangle.cpp
Here we are creating a uniform buffer. A uniform buffer is a buffer containing data which is meant to be read in shader code. We configure its size to the size of a glm::mat4 4x4 matrix, and then create it using the graphics device. Then we create the transformation matrix (all ones) and copy it into the buffer and flush it afterwards. You can find this uniform being picked up in the vertex shader code for this example:
| // actually located in /shaders/examples/hello_triangle/hello_triangle.vert.spv
layout(set = 0, binding = 0) uniform Entity
{
mat4 modelMatrix;
}
entity;
|
Filename: hello_triangle/doc/shadersnippet.vert
Speaking of shaders, lets look at how to load some:
| const auto vertexShaderPath = KDGpu::assetPath() + "/shaders/examples/hello_triangle/hello_triangle.vert.spv";
auto vertexShader = m_device.createShaderModule(KDGpuExample::readShaderFile(vertexShaderPath));
const auto fragmentShaderPath = KDGpu::assetPath() + "/shaders/examples/hello_triangle/hello_triangle.frag.spv";
auto fragmentShader = m_device.createShaderModule(KDGpuExample::readShaderFile(fragmentShaderPath));
|
Filename: hello_triangle/hello_triangle.cpp
A single call to the graphics device. Also check out that KDGpu::AssetPath.
The next step is to initialize the render pipeline object. Before we can do that, though, we need to describe its memory layout.
1
2
3
4
5
6
7
8
9
10
11
12
13
14
15
16
17
18
19 | // Create bind group layout consisting of a single binding holding a UBO
// clang-format off
const BindGroupLayoutOptions bindGroupLayoutOptions = {
.label = "Transform Bind Group",
.bindings = {{
.binding = 0,
.resourceType = ResourceBindingType::UniformBuffer,
.shaderStages = ShaderStageFlags(ShaderStageFlagBits::VertexBit)
}}
};
// clang-format on
const BindGroupLayout bindGroupLayout = m_device.createBindGroupLayout(bindGroupLayoutOptions);
// Create a pipeline layout (array of bind group layouts)
const PipelineLayoutOptions pipelineLayoutOptions = {
.label = "Triangle",
.bindGroupLayouts = { bindGroupLayout }
};
m_pipelineLayout = m_device.createPipelineLayout(pipelineLayoutOptions);
|
Filename: hello_triangle/hello_triangle.cpp
This is pretty much boilerplate. It would be more interesting if we had a more complex array of uniforms and buffers. In our case, we are describing the transformation of a single triangle, so we just initialize a bindgroup layout containing one uniform buffer and a pipeline layout containing the bindgroup layout.
Next, we create the render pipeline object, passing in our shaders and configuring the format to match its constituent elements. The vertex buffer layout is described to match the vertex array we wrote earlier, the render target format is the same as the swapchain (created under the hood by KDGpuExample) and the depth and stencil buffers are configured to match the depth texture format.
1
2
3
4
5
6
7
8
9
10
11
12
13
14
15
16
17
18
19
20
21
22
23
24
25
26
27 | const GraphicsPipelineOptions pipelineOptions = {
.label = "Triangle",
.shaderStages = {
{ .shaderModule = vertexShader, .stage = ShaderStageFlagBits::VertexBit },
{ .shaderModule = fragmentShader, .stage = ShaderStageFlagBits::FragmentBit }
},
.layout = m_pipelineLayout,
.vertex = {
.buffers = {
{ .binding = 0, .stride = sizeof(Vertex) }
},
.attributes = {
{ .location = 0, .binding = 0, .format = Format::R32G32B32_SFLOAT }, // Position
{ .location = 1, .binding = 0, .format = Format::R32G32B32_SFLOAT, .offset = sizeof(glm::vec3) } // Color
}
},
.renderTargets = {
{ .format = m_swapchainFormat }
},
.depthStencil = {
.format = m_depthFormat,
.depthWritesEnabled = true,
.depthCompareOperation = CompareOperation::Less
}
};
// clang-format on
m_pipeline = m_device.createGraphicsPipeline(pipelineOptions);
|
Filename: hello_triangle/hello_triangle.cpp
After creating the pipeline we use the bind group layout to construct the actual bind group as well, attaching the transform buffer we made earlier.
| const BindGroupOptions bindGroupOptions = {
.label = "Transform Bind Group",
.layout = bindGroupLayout,
.resources = {{
.binding = 0,
.resource = UniformBufferBinding{ .buffer = m_transformBuffer }
}}
};
// clang-format on
m_transformBindGroup = m_device.createBindGroup(bindGroupOptions);
|
Filename: hello_triangle/hello_triangle.cpp
Last but not least, we construct the render pass options.
 1
 2
 3
 4
 5
 6
 7
 8
 9
10
11
12 | m_opaquePassOptions = {
.colorAttachments = {
{
.view = {}, // Not setting the swapchain texture view just yet
.clearValue = { 0.3f, 0.3f, 0.3f, 1.0f },
.finalLayout = TextureLayout::PresentSrc
}
},
.depthStencilAttachment = {
.view = m_depthTextureView,
}
};
|
Filename: hello_triangle/hello_triangle.cpp
Notice that, unlike the other initializations, we aren't actually using the options to create anything. That's because the render pass options (namely the view, which contains the current swapchain image to render to) changes each frame. Therefore, we must re-construct the render pass object each frame as well, with the updated options. Given this new context about the initialization of the render pass, go back and read the [Render] section before continuing on to the next examples.
Updated on 2025-07-08 at 12:01:11 +0000