Skip to content

Hello Triangle

hello_triangle.png

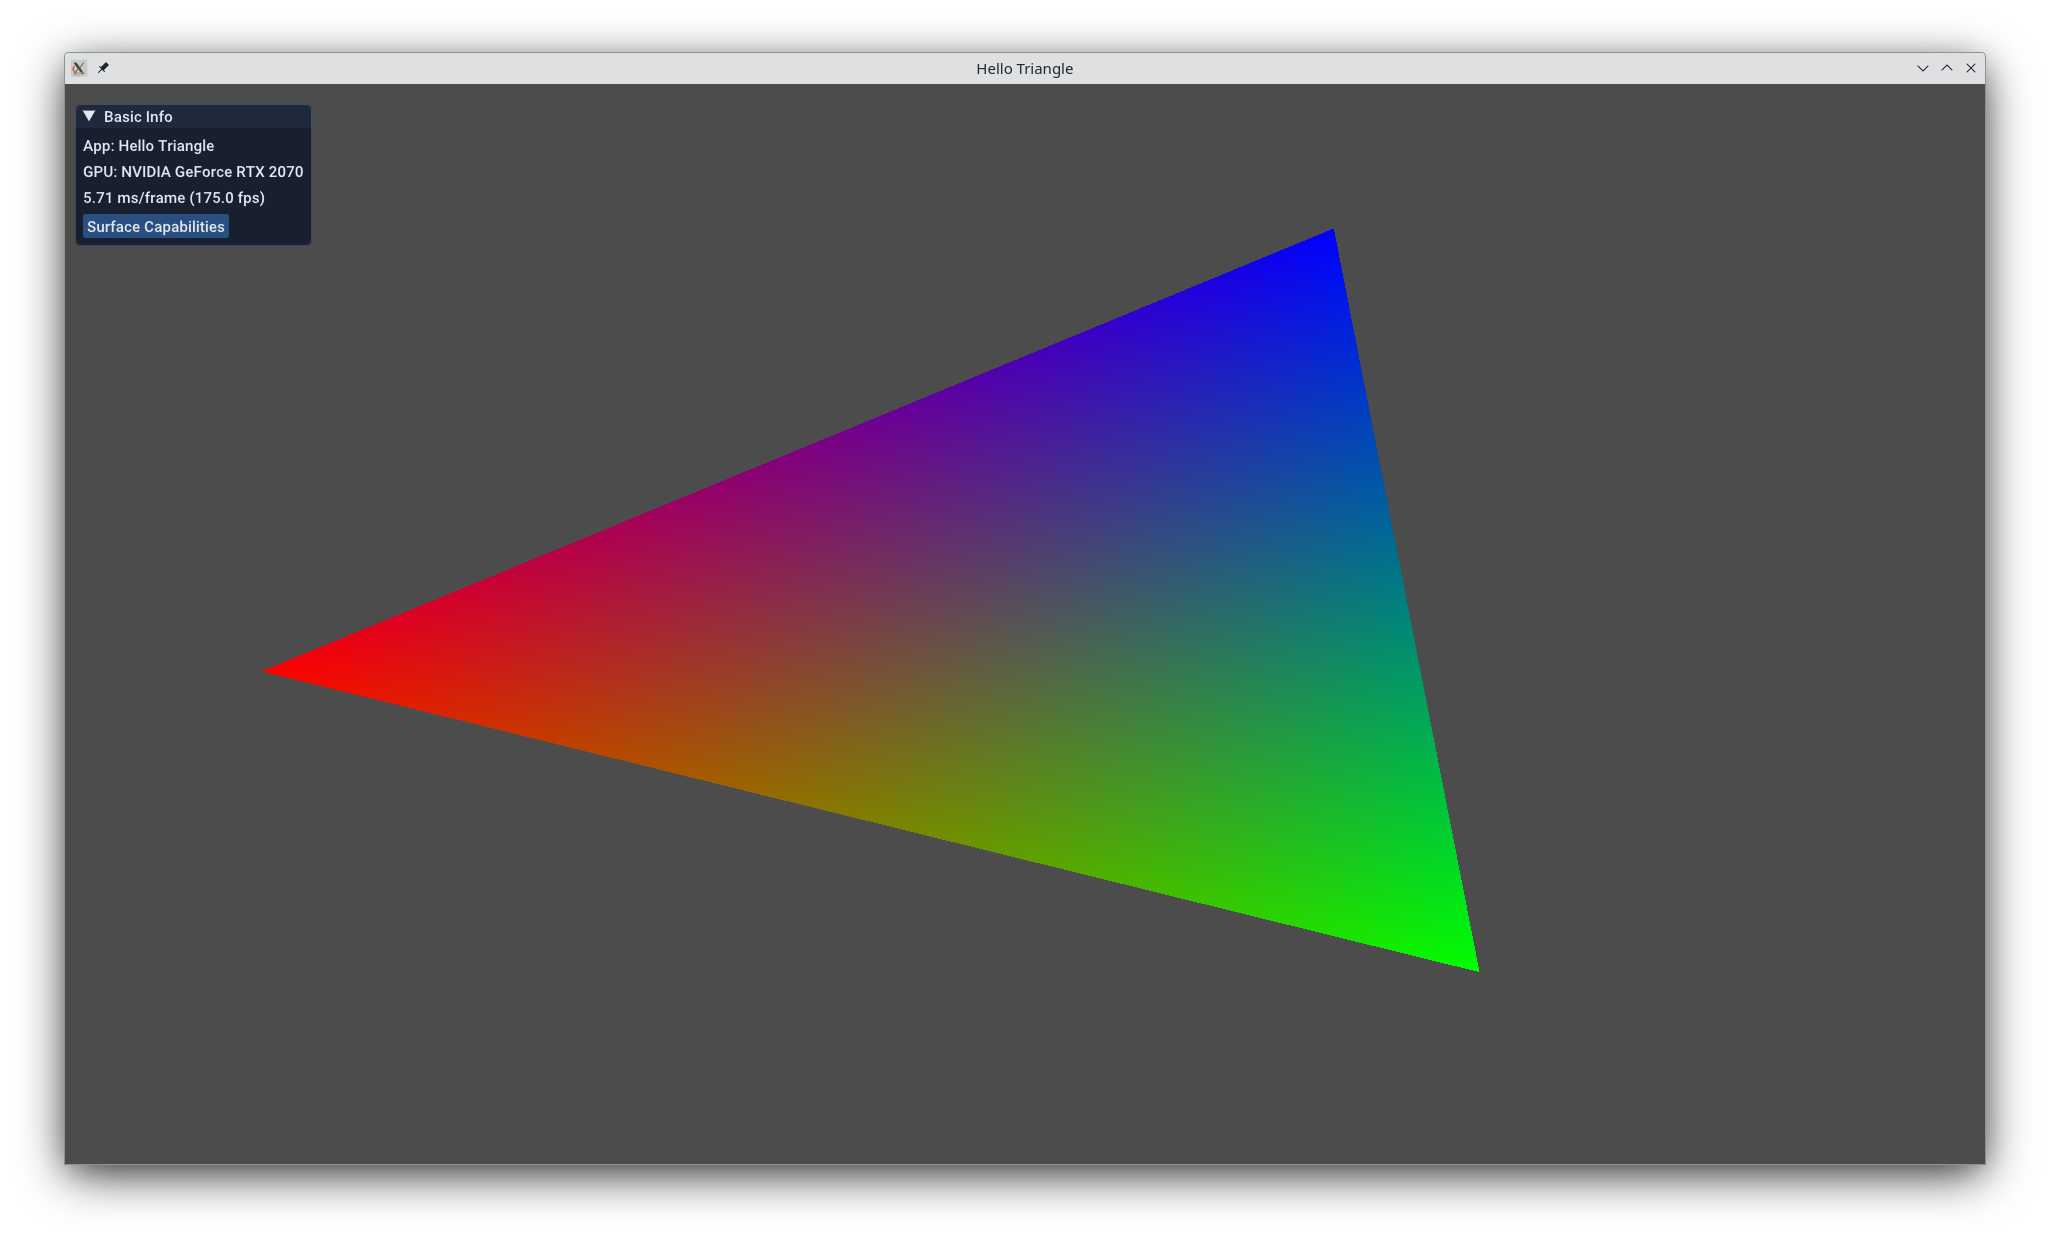
This is the most basic KDGpu rendering example: a single rotating triangle on the screen. It demonstrates the fundamental graphics flow - initializing graphics resources, setting up a graphics pipeline, and submitting draw commands each frame. This example is the best starting point for understanding how to render with KDGpu.

This example makes use of the KDGpuExample helper API which simplifies example creation by hiding repetitive and common patterns such as Instance and Device initialize and Swapchain creation.

To see what it's like to use KDGpu without the KDGpuExample API, check out the Hello Triangle Native API example.

Overview

What this example demonstrates:

  • Creating a KDGpu graphics application with window
  • Setting up vertex and index buffers with geometry data
  • Creating a graphics pipeline with shaders
  • Binding pipeline state and buffers
  • Recording and submitting draw commands each frame
  • Rotating geometry using uniform buffers and matrix transforms

Key concepts for beginners:

  • Vertex Buffer: GPU memory containing vertex positions and attributes
  • Index Buffer: GPU memory telling GPU which vertices form triangles
  • Uniform Buffer: GPU memory for data that changes per-frame (like transforms)
  • Graphics Pipeline: GPU state including shaders, vertex layout, and rendering modes
  • Command Recording: Building a list of GPU commands to execute
  • Draw Command: GPU command to render vertices using current pipeline/buffers

Vulkan concepts:

  • VkBuffer: GPU-accessible memory for vertices, indices, uniforms
  • VkPipeline: Shader programs + GPU state (rasterization, depth testing, etc.)
  • VkCommandBuffer: Recording draw and compute commands
  • VkSwapchain: Queue of images for displaying to screen

See VkSwapchainKHR specs and Graphics Pipelines for technical details.

Let's start with your first KDGpu application entrypoint!

Initialization

Let's take a look at the initialization process that was necessary to get to the rendering stage. Starting at the top of initializeScene:

Vertex Data:

 1
 2
 3
 4
 5
 6
 7
 8
 9
10
11
12
13
14
15
16
17
18
19
20
21
22
23
24
25
26
27
28
29
30
31
32
33
34
35
36
37
38
    struct Vertex {
        glm::vec3 position;
        glm::vec3 color;
    };

    // Create a buffer to hold triangle vertex data
    {
        const float r = 0.8f;
        const std::array<Vertex, 3> vertexData = {
            Vertex{ // Bottom-left, red
                    .position = { r * cosf(7.0f * M_PI / 6.0f), -r * sinf(7.0f * M_PI / 6.0f), 0.0f },
                    .color = { 1.0f, 0.0f, 0.0f } },
            Vertex{ // Bottom-right, green
                    .position = { r * cosf(11.0f * M_PI / 6.0f), -r * sinf(11.0f * M_PI / 6.0f), 0.0f },
                    .color = { 0.0f, 1.0f, 0.0f } },
            Vertex{ // Top, blue
                    .position = { 0.0f, -r, 0.0f },
                    .color = { 0.0f, 0.0f, 1.0f } }
        };

        const DeviceSize dataByteSize = vertexData.size() * sizeof(Vertex);
        const BufferOptions bufferOptions = {
            .label = "Vertex Buffer",
            .size = dataByteSize,
            .usage = BufferUsageFlagBits::VertexBufferBit | BufferUsageFlagBits::TransferDstBit,
            .memoryUsage = MemoryUsage::GpuOnly
        };

        m_buffer = m_device.createBuffer(bufferOptions);
        const BufferUploadOptions uploadOptions = {
            .destinationBuffer = m_buffer,
            .dstStages = PipelineStageFlagBit::VertexAttributeInputBit,
            .dstMask = AccessFlagBit::VertexAttributeReadBit,
            .data = vertexData.data(),
            .byteSize = dataByteSize
        };
        uploadBufferData(uploadOptions);
    }

Filename: hello_triangle/hello_triangle.cpp

Here, we are creating geometry by manually writing out vertices.

  1. We create a buffer and then set it to be the destinationBuffer in the upload options.
  2. Then we call KDGpuExample::ExampleEngineLayer::uploadBufferData, which will construct a new KDGpu::UploadStagingBuffer in the engine's list of staging buffers for later reference. 2.1. Creating a fence to mark when this buffer's lifetime ends is handled by KDGpu.
  3. Next, we need to initialize vertex indices. These will tell the GPU what order each of the vertices should be rendered in. In our case, with only one triangle, we just want to render each vertex in the order that they appear (this would not be the case if we had geometry which shared vertices).

Specifying vertices and indexing them correctly to form a model with a bunch of correctly oriented triangles is a complex task usually handled by loading in model files.

Index Data:

 1
 2
 3
 4
 5
 6
 7
 8
 9
10
11
12
13
14
15
16
17
18
19
    {
        std::array<uint32_t, 3> indexData = { 0, 1, 2 };
        const DeviceSize dataByteSize = indexData.size() * sizeof(uint32_t);
        const BufferOptions bufferOptions = {
            .label = "Index Buffer",
            .size = dataByteSize,
            .usage = BufferUsageFlagBits::IndexBufferBit | BufferUsageFlagBits::TransferDstBit,
            .memoryUsage = MemoryUsage::GpuOnly
        };
        m_indexBuffer = m_device.createBuffer(bufferOptions);
        const BufferUploadOptions uploadOptions = {
            .destinationBuffer = m_indexBuffer,
            .dstStages = PipelineStageFlagBit::IndexInputBit,
            .dstMask = AccessFlagBit::IndexReadBit,
            .data = indexData.data(),
            .byteSize = dataByteSize
        };
        uploadBufferData(uploadOptions);
    }

Filename: hello_triangle/hello_triangle.cpp

Once again, we use the graphics device to create a new buffer, set it as the destination, and then call uploadBuffer. Note the different configuration bits.

Transformation Matrix as Uniform Buffer Object:

Now the transformation matrix:

 1
 2
 3
 4
 5
 6
 7
 8
 9
10
11
12
13
14
    {
        const BufferOptions bufferOptions = {
            .label = "Transformation Buffer",
            .size = sizeof(glm::mat4),
            .usage = BufferUsageFlagBits::UniformBufferBit,
            .memoryUsage = MemoryUsage::CpuToGpu // So we can map it to CPU address space
        };
        m_transformBuffer = m_device.createBuffer(bufferOptions);

        // Upload identity matrix. Updated below in updateScene()
        m_transform = glm::mat4(1.0f);
        m_transformBufferData = m_transformBuffer.map();
        std::memcpy(m_transformBufferData, &m_transform, sizeof(glm::mat4));
    }

Filename: hello_triangle/hello_triangle.cpp

Here we are creating a uniform buffer that will hold this transformation matrix. You can find this uniform being picked up in the vertex shader code for this example. Notice how we decided to use mappable memory for this buffer. This allows us to write to it directly from the CPU without needing to create a staging buffer and perform a copy operation. This is ideal for data that changes every frame, such as our transformation matrix.

 1
 2
 3
 4
 5
 6
 7
 8
 9
10
11
12
13
14
void HelloTriangle::updateScene()
{
    // Each frame we want to rotate the triangle a little
    static float angle = 0.0f;
    const float angularSpeed = 3.0f; // degrees per second
    const float dt = engine()->deltaTimeSeconds();
    angle += angularSpeed * dt;
    if (angle > 360.0f)
        angle -= 360.0f;

    m_transform = glm::mat4(1.0f);
    m_transform = glm::rotate(m_transform, glm::radians(angle), glm::vec3(0.0f, 0.0f, 1.0f));
    std::memcpy(m_transformBufferData, &m_transform, sizeof(glm::mat4));
}

Filename: hello_triangle/hello_triangle.cpp

Loading the shaders:

1
2
3
4
5
    auto vertexShaderPath = KDGpuExample::assetDir().file("shaders/examples/hello_triangle/hello_triangle.vert.spv");
    auto vertexShader = m_device.createShaderModule(KDGpuExample::readShaderFile(vertexShaderPath));

    auto fragmentShaderPath = KDGpuExample::assetDir().file("shaders/examples/hello_triangle/hello_triangle.frag.spv");
    auto fragmentShader = m_device.createShaderModule(KDGpuExample::readShaderFile(fragmentShaderPath));

Filename: hello_triangle/hello_triangle.cpp

A single call to the graphics device. Also check out that KDGpu::AssetPath.

The Graphics Pipeline:

The next step is to initialize the render pipeline object. Before we can do that, though, we need to describe its memory layout.

 1
 2
 3
 4
 5
 6
 7
 8
 9
10
11
12
13
14
15
16
17
18
19
    // Create bind group layout consisting of a single binding holding a UBO
    const BindGroupLayoutOptions bindGroupLayoutOptions = {
        .label = "Transform Bind Group",
        .bindings = {
                {
                        .binding = 0,
                        .resourceType = ResourceBindingType::UniformBuffer,
                        .shaderStages = ShaderStageFlags(ShaderStageFlagBits::VertexBit),
                },
        },
    };
    const BindGroupLayout bindGroupLayout = m_device.createBindGroupLayout(bindGroupLayoutOptions);

    // Create a pipeline layout (array of bind group layouts)
    const PipelineLayoutOptions pipelineLayoutOptions = {
        .label = "Triangle",
        .bindGroupLayouts = { bindGroupLayout },
    };
    m_pipelineLayout = m_device.createPipelineLayout(pipelineLayoutOptions);

Filename: hello_triangle/hello_triangle.cpp

This is pretty much boilerplate. It would be more interesting if we had a more complex array of uniforms and buffers. In our case, we are describing the transformation of a single triangle, so we just initialize a bindgroup layout containing one uniform buffer and a pipeline layout containing the bindgroup layout.

Next, we create the render pipeline object, passing in our shaders and configuring the format to match its constituent elements. The vertex buffer layout is described to match the vertex array we wrote earlier, the render target format is the same as the swapchain (created under the hood by KDGpuExample) and the depth and stencil buffers are configured to match the depth texture format.

 1
 2
 3
 4
 5
 6
 7
 8
 9
10
11
12
13
14
15
16
17
18
19
20
21
22
23
24
    // Create a pipeline
    const GraphicsPipelineOptions pipelineOptions = {
        .label = "Triangle",
        .shaderStages = {
                { .shaderModule = vertexShader, .stage = ShaderStageFlagBits::VertexBit },
                { .shaderModule = fragmentShader, .stage = ShaderStageFlagBits::FragmentBit } },
        .layout = m_pipelineLayout,
        .vertex = {
                .buffers = {
                        { .binding = 0, .stride = sizeof(Vertex) },
                },
                .attributes = {
                        { .location = 0, .binding = 0, .format = Format::R32G32B32_SFLOAT }, // Position
                        { .location = 1, .binding = 0, .format = Format::R32G32B32_SFLOAT, .offset = sizeof(glm::vec3) }, // Color
                },
        },
        .renderTargets = { { .format = m_swapchainFormat } },
        .depthStencil = {
                .format = m_depthFormat,
                .depthWritesEnabled = true,
                .depthCompareOperation = CompareOperation::Less,
        },
    };
    m_pipeline = m_device.createGraphicsPipeline(pipelineOptions);

Filename: hello_triangle/hello_triangle.cpp

After creating the pipeline we use the bind group layout to construct the actual bind group as well, attaching the transform buffer we made earlier.

 1
 2
 3
 4
 5
 6
 7
 8
 9
10
    const BindGroupOptions bindGroupOptions = {
        .label = "Transform Bind Group",
        .layout = bindGroupLayout,
        .resources = {{
            .binding = 0,
            .resource = UniformBufferBinding{ .buffer = m_transformBuffer }
        }}
    };
    // clang-format on
    m_transformBindGroup = m_device.createBindGroup(bindGroupOptions);

Filename: hello_triangle/hello_triangle.cpp

Rendering

Finally, we can look at the rendering code. This is where we record the commands that will be sent to the GPU each frame.

  • We begin by creating a command recorder object which is then used to begin a render pass that will direct the rendering to the current swapchain image.
  • Beginning a render pass returns a KDGpu::RenderPassCommandRecorder, which has many functions used to issue commands related to rendering. We use the pass recorder to bind a KDGpu::GraphicsPipeline to set the majority of the GPU state, followed by binding the vertex and index buffers that hold the geometry data. With all of the state set, we can issue a drawIndexed call to draw the 3 vertices of the triangle.
  • Once all of our drawing commands are recorded, we call the renderImGuiOverlay helper function to draw the UI.
  • To complete the frame, we have to end the renderpass and then tell the command recorder to finish. This returns a CommandBuffer that we then submit to a GPU Queue for execution.
 1
 2
 3
 4
 5
 6
 7
 8
 9
10
11
12
13
14
15
16
17
18
19
20
21
22
23
24
25
26
27
28
29
30
31
32
33
34
void HelloTriangle::render()
{
    auto commandRecorder = m_device.createCommandRecorder();

    auto opaquePass = commandRecorder.beginRenderPass(RenderPassCommandRecorderOptions{
            .colorAttachments = {
                    {
                            .view = m_swapchainViews.at(m_currentSwapchainImageIndex), // Not setting the swapchain texture view just yet
                            .clearValue = { 0.3f, 0.3f, 0.3f, 1.0f },
                            .finalLayout = TextureLayout::PresentSrc,
                    },
            },
            .depthStencilAttachment = {
                    .view = m_depthTextureView,
            },
    });

    opaquePass.setPipeline(m_pipeline);
    opaquePass.setVertexBuffer(0, m_buffer);
    opaquePass.setIndexBuffer(m_indexBuffer);
    opaquePass.setBindGroup(0, m_transformBindGroup);
    const DrawIndexedCommand drawCmd = { .indexCount = 3 };
    opaquePass.drawIndexed(drawCmd);
    renderImGuiOverlay(&opaquePass);
    opaquePass.end();
    m_commandBuffer = commandRecorder.finish();

    const SubmitOptions submitOptions = {
        .commandBuffers = { m_commandBuffer },
        .waitSemaphores = { m_presentCompleteSemaphores[m_inFlightIndex] },
        .signalSemaphores = { m_renderCompleteSemaphores[m_currentSwapchainImageIndex] }
    };
    m_queue.submit(submitOptions);
}

Filename: hello_triangle/hello_triangle.cpp

See Also


Updated on 2026-03-31 at 00:02:07 +0000