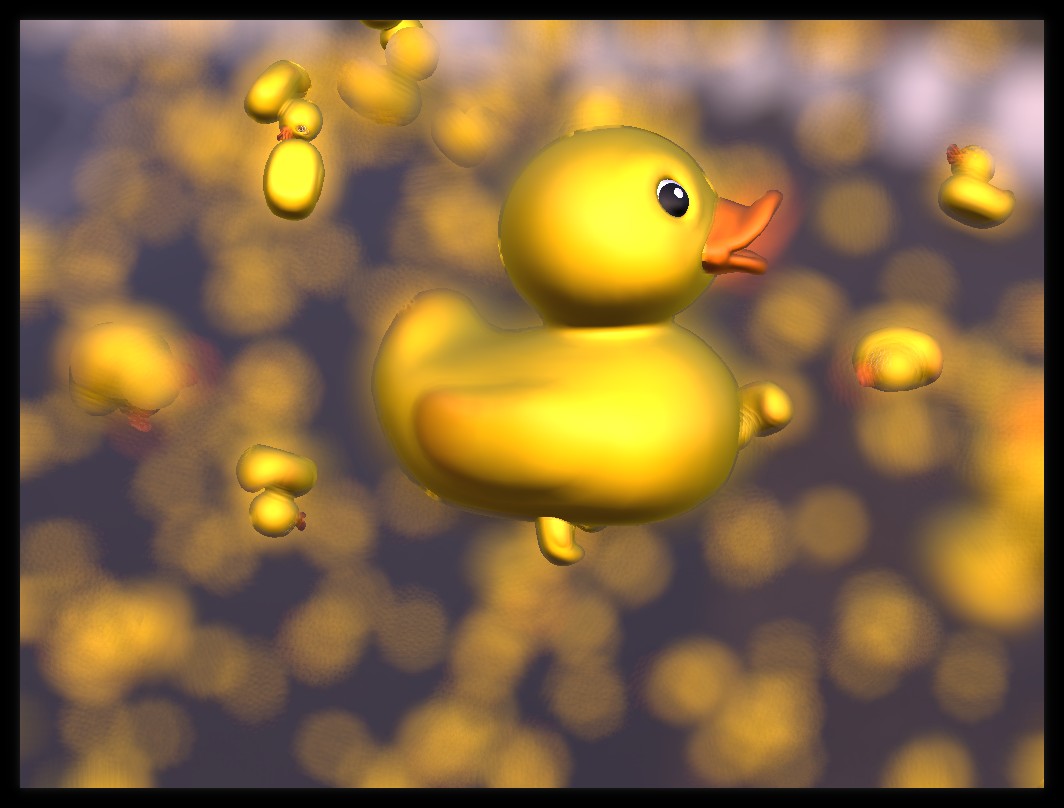
Kuesa Many Ducks C++ Example
Setting up a scene
Creating a window
The easiest way to get started is to subclass the Qt3DExtras::Qt3DWindow ```cpp
class Window : public Qt3DExtras::Qt3DWindow
1 2 3 4 5 6 7 8 9 | |
Filename: manyducks/main.cpp
Creating a Camera and its controller
We can reuse the default camera provided by Qt3DExtras::Qt3DWindow ```cpp
1 2 3 4 5 6 7 | |
``` Filename: manyducks/main.cpp
Setting up the FrameGraph
We can use the pre made [ForwardRenderer ] FrameGraph. cpp
auto fg = new Kuesa::Qt3D::ForwardRenderer();
fg->setCamera(camera());
fg->setGamma(2.2f);
fg->setExposure(1.f);
fg->setClearColor("white");
fg->setSkinning(true);
// We disable frustum culling if using instancing
fg->setFrustumCulling(!usesInstancing);
setActiveFrameGraph(fg);
Filename: manyducks/main.cpp
Importing a glTF2 File
In order to load a glTF2 file, Kuesa provides the [GLTF2Importer ] element. If the sceneEntity property is set to a valid [SceneEntity ] instance, Qt 3D assets generated while parsing the file will be automatically added to the various asset collections. ```cpp
1 2 3 4 5 6 | |
``` Filename: manyducks/main.cpp
Adding a Skybox
Kuesa provides [Skybox ]. It expects a patch and an extension. cpp
// Skybox creation
auto skybox = new Kuesa::Qt3D::Skybox(m_scene);
skybox->setBaseName(envmap("radiance"));
skybox->setExtension(".dds");
Filename: manyducks/main.cpp
Adding a PostProcessing Effect
We can make use of Kuesa's pre made post processing effects such as qmltype{DepthOfFieldEffect}.
1 2 3 4 5 6 | |
Filename: manyducks/main.cpp
Extracting Assets from Collections
Usually, you will want to interact with some elements of your scene.
You can use the Kuesa Studio gltfInspector to introspect a glTF2 scene files and find the names of the various assets it contains.
Upon successful loading of our glTF2 file, we will be able to proceed with asset retrieval. ```cpp
1 2 3 | |
``` Filename: manyducks/main.cpp
Manually Instancing Meshes
Retrieving Geometries and Material
Using the gltfInspector we know our scene files contains a Duck Entity name "KuesaEntity_0"..
We can therefore retrieve it with: cpp
// First let's take the components that we are going to use to create our clones
// Gotten from gammaray
auto parent = m_scene->entity("KuesaEntity_0");
Filename: manyducks/main.cpp
In turn, using Qt3D Component API, we can retrieve the QGeometry, Qt3DRender::QMaterial components of the previously retrieved entity. ```cpp
1 2 3 | |
_Filename: manyducks/main.cpp_

Then, we can create several entities referencing the same material and geometry.
cpp
// Then create clones by giving them a custom transform, and the same components than before
QRandomGenerator *rand = QRandomGenerator::global();
for (int i = 0; i < Ducks; i++) {
auto new_entity = new Qt3DCore::QEntity{ parent };
auto new_transform = new Qt3DCore::QTransform;
new_transform->setScale(0.2f);
new_transform->setTranslation(QVector3D(rand->generate() % r - r / 2, rand->generate() % r - r / 2, rand->generate() % r - r / 2));
new_transform->setRotationX(rand->generate() % 360);
new_transform->setRotationY(rand->generate() % 360);
new_transform->setRotationZ(rand->generate() % 360);
new_entity->addComponent(new_transform);
new_entity->addComponent(orig_geometry);
new_entity->addComponent(orig_material);
m_transforms[i] = new_transform;
}
```
Filename: manyducks/main.cpp
Relying on GPU based instancing
A more efficient approach to drawing multiple instances of the same geometry is to rely on GPU based instancing. In Kuesa, assuming the GPU supports that feature, this can easily be leveraged by using the qmltype{Kuesa::Qt3D::MeshInstantiator} class.
We need to generate a transformation matrix for each of the instances. ```cpp
1 2 3 4 5 6 7 8 9 10 11 12 13 14 15 16 17 | |
_Filename: manyducks/main.cpp_

Then we can create our MeshInstantiator, specify the name of the Entity to instantiate and set the transformation matrices on it.
cpp
// Create MeshInstantiator
m_meshInstantiator = new Kuesa::Qt3D::MeshInstantiator(m_scene);
// Specify which Entity with a Mesh needs to be instanced
m_meshInstantiator->setEntityName(QStringLiteral("KuesaEntity_2"));
// Set transformation matrices
m_meshInstantiator->setTransformationMatrices(m_matrices);
```
Filename: manyducks/main.cpp
This approach greatly reduces CPU usage compared to the manual approach.
Animating our Scene
Subclassing the timerEvent function on Qt3DExtras::Qt3DWindow allows us to add some logic to be executed at every frame. ```cpp
1 2 3 4 5 6 7 8 9 10 11 12 13 14 15 16 17 18 19 20 21 22 23 24 25 26 27 28 | |
```
Filename: manyducks/main.cpp
Please note that glTF2 offers way to embedded animations in the glTF files directly. This should be preferred unless you want to manually do animations like illustrated above.
Updated on 2022-10-18 at 11:12:52 +0200